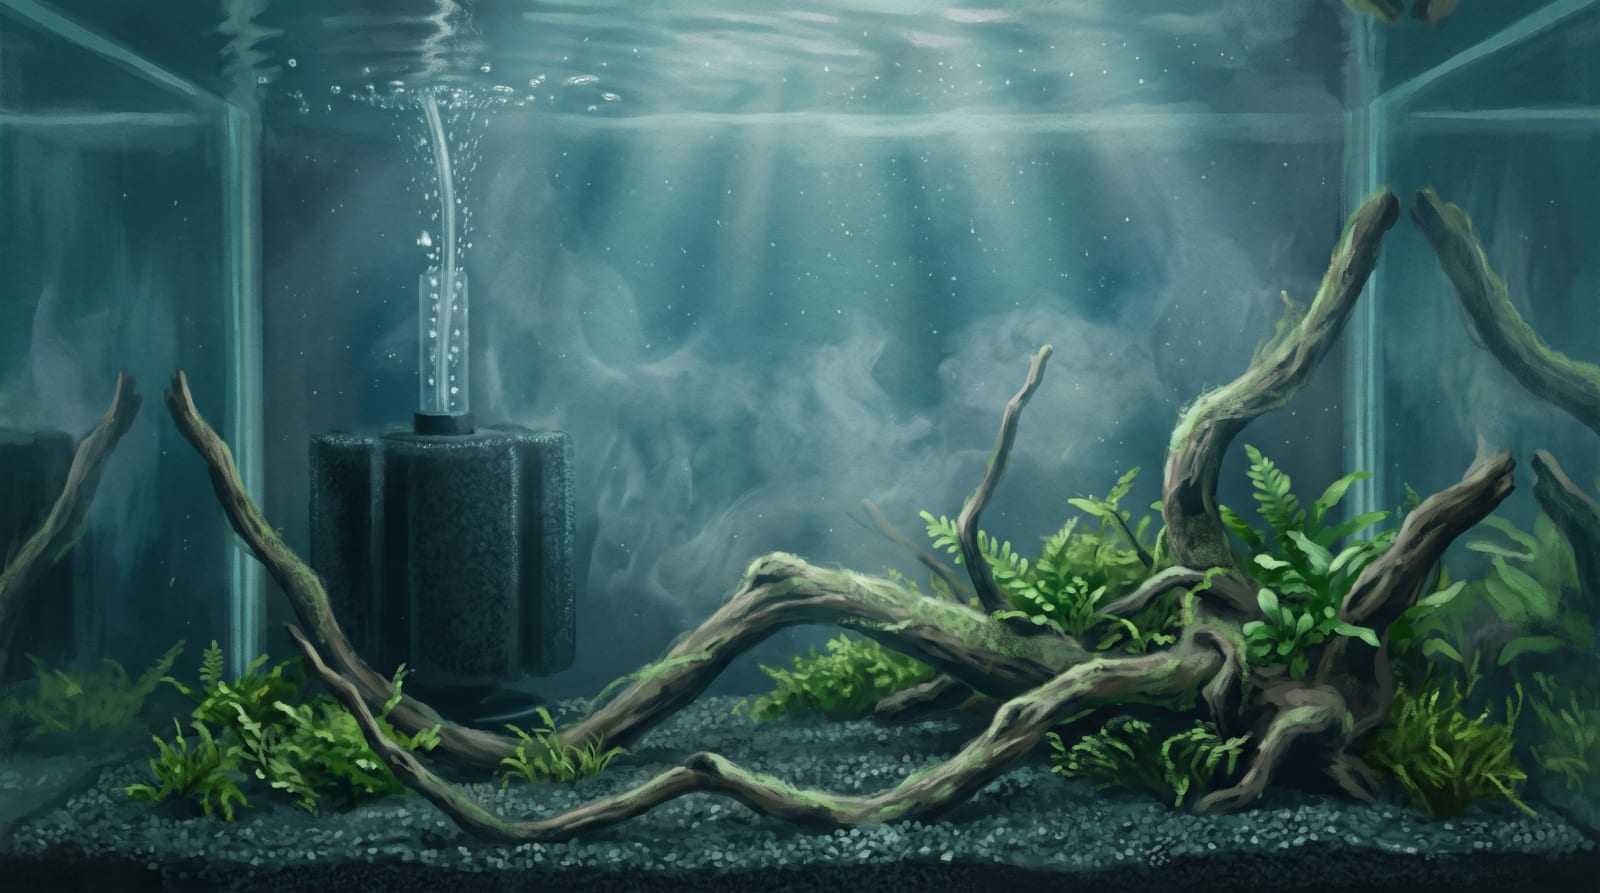
Cycling is the single step that decides whether your first shrimp live or die, and it's the one beginners skip because nothing about it is visible. There's no shrimp in the tank yet, the water looks finished, and the pull to go and buy livestock is enormous. Resist it. A shrimp tank needs a fully established nitrogen cycle before a single animal goes in, and building one the fishless way — with nothing at risk while the bacteria catch up — takes four to six weeks or more. This is exactly how we do it.
Why a shrimp tank has to be cycled first
Every shrimp you keep produces ammonia: through its waste, through breathing, and through the slow breakdown of anything organic in the tank. Ammonia is lethal to shrimp, and so is nitrite, the compound it turns into next. In an established aquarium, two colonies of beneficial bacteria handle this automatically. One converts ammonia into nitrite; the other converts nitrite into nitrate, which is far less toxic and gets removed by your water changes. That chain is the nitrogen cycle, and "cycling" a tank means growing those bacteria colonies before they're needed.
Skip it and the maths is brutal. Add shrimp to a tank with no established bacteria and their own ammonia climbs with nothing to process it, poisoning them across the first week or two. In our experience an uncycled tank is behind more first-week wipeouts than every shrimp disease combined.
Shrimp are also more sensitive to ammonia and nitrite than most fish, which is why we never "cycle with livestock" the way some old fishkeeping advice suggests. The fishless approach isn't caution for its own sake — it's the only sane way to build a shrimp tank. The safe endpoints we're building towards are the ones from our Neocaridina water parameters guide: ammonia 0, nitrite 0, nitrate under 20ppm.
What "cycled" actually means
A cycled tank isn't one that's been running for a while. It's one that can process ammonia down to zero on its own, and you prove that with a test kit, not a calendar.
When you can add a dose of ammonia to the tank and watch both ammonia and nitrite read zero within a day, with nitrate accumulating as the by-product, the bacteria are established and the tank is ready. That is the whole test. Everything else — the cloudy "new tank" bloom that clears after a week, the faint green of biofilm on the glass — is scenery. Useful scenery, because that maturing surface is what your shrimp will graze once they arrive, but not proof of a cycle. The only proof is a zero reading.
Fishless cycling: three ways to feed the bacteria
Bacteria need a supply of ammonia to grow. Fishless cycling simply provides that ammonia without an animal producing it, so nothing suffers while the colony builds. There are three common ways to do it, and they aren't mutually exclusive — plenty of keepers seed a tank and dose ammonia at the same time.
Bottled ammonia (the method we use)
Pure liquid ammonia — sold as an aquarium cycling product, or as plain household ammonia with no perfumes, surfactants or colourants — is the cleanest way to cycle. You add it to the tank to feed the bacteria at the dose printed on the bottle, then top it up as the growing colony consumes it. The appeal is control: you're supplying a known, steady food source and can watch the two bacteria populations come online in order, nitrite appearing as ammonia falls, then nitrate appearing as nitrite falls.
Check the label reads ammonia and water only. Anything with a foaming agent, scent or added surfactant has no place in a tank you'll later put shrimp into.
The fish-food method (the cheap one)
No ammonia to hand? A pinch of ordinary fish food dropped into the tank rots and releases ammonia as it decays, feeding the same bacteria. It's free and it works, but it's slower and messier — you're guessing at the ammonia supply rather than dosing it, and the decaying food can cloud the water. A small mesh bag keeps the debris containable. We treat this as the no-shopping-required option rather than the one we'd reach for first.
Seeding from a mature filter (the shortcut)
The fastest route is to borrow bacteria that already exist. A squeeze of mulm from an established sponge filter, a handful of mature filter media, or a scoop of substrate from a running tank drops a live starter culture straight into your new one, and can bring the cycle down from weeks to sometimes as little as a week or two.
Two honest cautions. Seeded bacteria still need feeding, so pair this with an ammonia source or the culture starves before your shrimp arrive. And anything moved from another tank can carry hitchhikers — pest snails, planaria, the odd pathogen — so only seed from a tank you actually trust. Even with a strong seed, keep testing; the shortcut speeds the cycle up, it doesn't let you skip the test that ends it.
How long cycling takes
From scratch, budget four to six weeks, and don't be surprised if it runs longer. A well-seeded tank can be ready far sooner, but a bare new setup with no head start routinely needs the full six weeks or more before it holds steady at zero ammonia and zero nitrite. There's no way to hurry the biology along, only to feed it well and give it the conditions it likes.
Two things speed a cycle. Warmth is the main one: the bacteria multiply faster in the 21–24°C band, so we cycle at the 22–23°C we breed at rather than in a cold room. Oxygen is the other — a running sponge filter gives the bacteria both the flow and the huge surface area they colonise, which is one reason it's the filter we build every shrimp tank around. Cycling with the filter switched off achieves very little, so run it from day one.
Get your water right while the tank cycles
Whatever you plan to fill and top up with, sort the water out from the start, so the bacteria grow in the exact conditions your shrimp will eventually live in.
Every drop of tap water gets dechlorinated first. Chlorine and chloramine kill the beneficial bacteria you're trying to grow just as readily as they'd harm shrimp, and much of Britain's supply now carries chloramine, which won't gas off if you leave a bucket standing overnight. Use a conditioner rated for chloramine, every time; we've set out what to look for in a shrimp-safe dechlorinator separately.
If you're in a soft-water part of the UK, remineralise the water up to GH 6–12 now rather than later, so the tank cycles at the hardness it will actually run at. Doing it during the cycle means there's no mineral jump on the day the shrimp go in. Which regions this applies to is mapped in our UK tap water guide, and the method itself is in remineralising RO and rainwater.
Knowing it's finished — and adding the first shrimp
The tank is cycled when a fresh dose of ammonia clears to zero, along with nitrite, within a day, and your only remaining reading is nitrate. That's the green light — with one last job before livestock.
Nitrate builds up throughout a fishless cycle and will read high by the end, so do a large water change to bring it comfortably under 20ppm, using dechlorinated, temperature-matched water added gently. Then, and only then, add shrimp — slowly. All the patience of a six-week cycle is undone by tipping shrimp straight into water that doesn't match the bag they travelled in, so drip acclimatise them over an hour or two and net them across, leaving the transport water behind. Start with ten or more.
From here the tank runs on the routine in our cherry shrimp care guide, and the biofilm you grew during cycling becomes the colony's first meal. Skipping this one boring step is the most common reason new keepers end up asking why their shrimp are dying — do it properly and you sidestep most of that heartache before it starts.
FAQ
How long does it take to cycle a tank for shrimp?
Four to six weeks from scratch, and often a little longer for a bare new tank with no head start. Seeding the tank with mature filter media or substrate from an established aquarium can cut that down considerably, sometimes to a week or two. There's no fixed number, though — the tank is cycled when it tests clear, not when a set time has passed.
Can you cycle a tank with shrimp in it?
You shouldn't. Cycling with livestock means exposing the animals to the very ammonia and nitrite the process produces, and shrimp are more sensitive to both than most fish. A fishless cycle grows the same bacteria with no creature at risk, so there's no reason to gamble a colony to save a few weeks. Cycle empty, test until it's clear, then add shrimp.
How do I know when my shrimp tank is cycled?
Test it. Add a dose of ammonia and check the water a day later: if both ammonia and nitrite read zero and you're left with only nitrate, the bacteria are established and the tank is ready. A cloudy bloom clearing or algae greening the glass are not proof — plenty of uncycled tanks look finished. The zero reading is the only thing that counts.
What can I use as an ammonia source for cycling?
Two easy options. Bottled pure ammonia — an aquarium cycling product, or plain household ammonia with no perfumes or additives — lets you dose a known amount and is the method we prefer. Failing that, a pinch of ordinary fish food left to rot releases ammonia as it breaks down. Both feed the same bacteria; the bottle just gives you more control over how much.
Can I add shrimp straight after the cycle finishes?
Almost — do one thing first. Nitrate climbs high during a fishless cycle, so run a large, temperature-matched, dechlorinated water change to bring it under 20ppm before any shrimp go in. Then drip acclimatise your shrimp slowly rather than pouring them in, because a sudden change in water is exactly the kind of shock that kills newly added shrimp even in a perfectly cycled tank.